

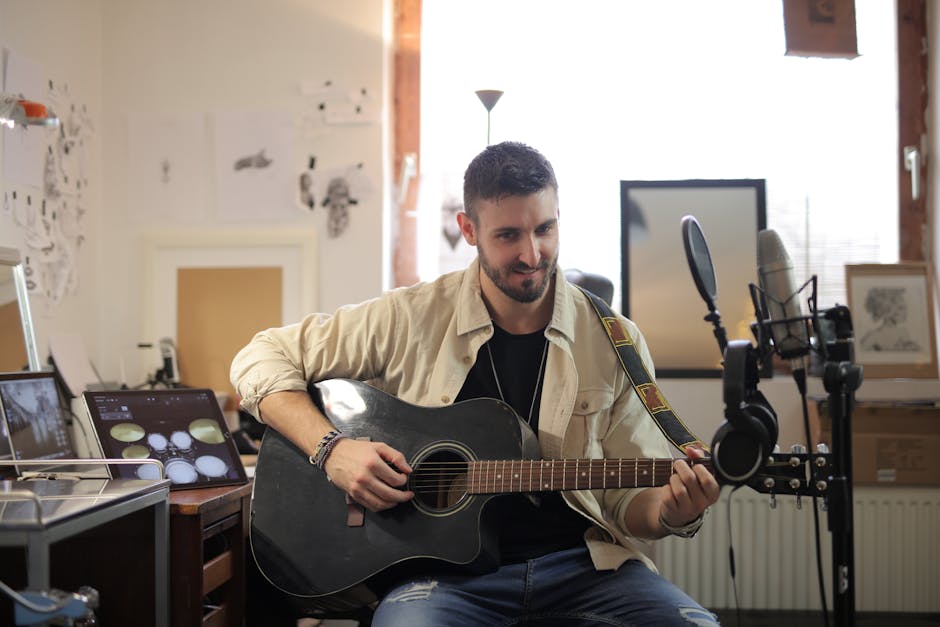
How to Soundproof a Home Office or Studio With Decorative Acoustic Panels
Sound bounces around a standard 12×12 room roughly 200 times per second. That constant reflection is why your Zoom calls sound like you’re speaking from inside a tin can — and why home podcast recordings end up muddy no matter how expensive the microphone.
The fix isn’t mysterious. But most people approach it wrong: buying cheap foam tiles that look like a horror-movie set, or spending $800+ on professional studio panels built for commercial spaces. There’s a middle path that works, costs under $100 to start, and leaves your walls looking like you actually made a design decision.
Why Untreated Rooms Sound Terrible — The Physics Behind It
Every room has a measurement called RT60 — the time it takes for sound to decay by 60 decibels after a source stops making noise. A professional voice-over booth targets an RT60 of 0.2 to 0.4 seconds. A typical spare bedroom with hardwood floors, bare drywall, and no soft furnishings can hit 1.5 seconds or more.
That gap matters. Every syllable you speak lingers in the room for a full second and a half, layering on top of the next syllable. The result is a washed-out, echoey smear that no plugin can fully fix in post.
What Flutter Echo Actually Sounds Like
Flutter echo is the rapid metallic ringing you hear when sound ricochets between two parallel walls. Clap your hands once in an untreated room and listen for a fast “pip pip pip pip” decay instead of a clean fade. That’s flutter echo.
A standard rectangular home office creates four pairs of parallel walls. Each pair acts like a ping-pong table for sound waves. High frequencies — the ones that determine vocal clarity — bounce fast and create that harsh, ringy quality that EQ can’t fix after the fact. Square rooms are worst. Recording studios almost never use 90-degree parallel walls for this exact reason.
Why Hard Surfaces Are the Real Problem
Drywall, glass, and hardwood all have an NRC (Noise Reduction Coefficient) below 0.10. They absorb less than 10% of sound energy and reflect the rest back into the room.
Compare that to 2-inch acoustic foam like the Auralex Studiofoam Wedge (NRC 0.65–0.80) or a 4-inch Owens Corning 703 rigid fiberglass board (NRC 0.90–0.95). Most home offices are acoustic mirrors. Every hard surface bounces sound back. The good news: you don’t need to cover the entire room. Cover 15–25% of wall and ceiling surface with absorptive material and the improvement is dramatic and immediate.
Soundproofing vs. Sound Absorption — The Actual Difference
Soundproofing blocks sound from traveling between rooms. It requires mass: extra drywall layers, mass-loaded vinyl ($1.50–$2.50 per sq ft), resilient channel decoupling, or products like QuietRock panels (~$50 per sheet). It’s a construction project.
Sound absorption is what acoustic panels do. They reduce echo and reverberation inside a room. If your goal is clearer Zoom calls, better podcast audio, or a room that doesn’t ring when you clap — absorption is the solution. Panels can’t stop neighbor noise from coming through walls. But they absolutely can make your recordings sound like they weren’t captured in a bathroom stairwell.
Every Acoustic Treatment Option, Side by Side
Five options exist for treating a home office or bedroom studio. Here’s what they actually cost, how they perform, and whether a non-studio person will tolerate looking at them:
| Treatment Type | Price Per Sq Ft | NRC Range | Appearance | Renter Safe? |
|---|---|---|---|---|
| Foam wedge tiles (Auralex Studiofoam) | $2.50–$4.00 | 0.65–0.80 | Utilitarian studio foam | Yes (command strips) |
| DIY rigid fiberglass (Owens Corning 703) | $1.50–$2.50 built | 0.90–0.95 | Fabric-wrapped, custom | Yes, if hung |
| Moving blankets | $0.50–$1.00 | 0.40–0.60 | Rough, temporary | Yes |
| Professional fabric panels (Acoustimac DMD) | $8.00–$12.00 | 0.85–1.00 | Clean, office-ready | Yes |
| Decorative art acoustic panels (YPY 8-pack) | ~$4.70 | 0.75–0.85 | Art print quality | Yes |
Auralex foam works — but it signals “recording studio” in a way that clashes with any space that also functions as a living room, bedroom, or client-facing office. Acoustimac DMD panels look professional but cost $80 to $120 each; fully treating a 12×12 room runs $700 to $1,200. DIY Owens Corning 703 panels perform best acoustically but require a free weekend and basic woodworking skills to build and fabric-wrap.
Decorative panels hit a practical sweet spot: NRC ratings that handle vocal frequencies, printed art on the face so they read as intentional décor, and a price point where buying enough to actually treat a room is realistic. The YPY Sunset Beach acoustic panel set at $49.99 for eight 12×16-inch panels prints photographic art on the absorptive face — guests see a beach landscape, not acoustic foam.
Where to Place Acoustic Panels — The First Reflection Method
Random placement barely works. Placing panels at first reflection points with six panels outperforms scattering twenty panels randomly across every wall. Here’s the systematic approach acousticians use for home spaces:
- Find your first reflection points. Sit in your recording or work position. Have someone hold a mirror flat against the side wall and slowly slide it until you can see your speakers or your own face in it. Mark those spots. Sound bounces from the source to those points and then directly to your ears — arriving 5 to 30 milliseconds after the direct sound. Panels here matter more than anywhere else in the room.
- Cover side walls at ear height. Place two panels per side wall, centered on the reflection marks. Four panels total. This single step eliminates most comb filtering and the hollow quality in voice recordings.
- Place one panel directly behind your position. Sound from your voice passes your microphone, hits the back wall, and arrives back at the mic 20–50 milliseconds late. That delayed return creates noticeable roominess in recordings. One panel behind you cuts it cleanly.
- Treat the front wall. One to two panels between or behind your monitors — or on the wall you face while recording — reduces early reflections from the most prominent surface in your direct field.
- Hit corners if bass buildup is a problem. Low frequencies stack in corners where room modes converge. Thick panels (4-inch foam or rigid fiberglass) placed floor-to-ceiling in corners absorb more bass than any flat-wall placement. The Foam Factory Corner Wedge Bass Trap ($35–50 each) is a budget option specifically for this. Decorative panels are too thin for serious bass absorption — save them for flat walls.
- Add a ceiling cloud above your position. A group of panels mounted directly above your desk cuts the reflection path between your voice and the ceiling. Two panels arranged above your recording position makes a measurable difference in rooms with hardwood or tile floors and no area rug.
- Check windows and glass doors last. A panel placed beside or above a large window often eliminates the last remaining flutter echo that side-wall panels couldn’t reach. Glass reflections are strong — one panel near a window is worth more than three panels on an opposite drywall surface.
For a 12×12 room: 4 side-wall panels + 1 behind your position + 1–2 front wall + 2 ceiling cloud = 8–9 panels covering all primary reflection paths. One 8-pack of YPY panels handles both side walls and the wall behind your position. Two packs ($100 total) extends to the front wall and ceiling. That’s a complete functional treatment for a single recording or work position at a budget most home offices can justify.
Step-by-Step: Installing Decorative Acoustic Panels in One Afternoon

The installation itself takes two to three hours including the planning stage. No contractor, no special tools, no wall damage a command strip can’t undo.
How Much Coverage You Actually Need — With Math
For a 12×12 room with 8-foot ceilings, total wall and ceiling surface is about 528 square feet. Fifteen percent coverage requires roughly 79 square feet of panels. Each 12×16-inch YPY panel covers 1.33 square feet. One 8-pack = 10.7 square feet of treatment.
Full 15% coverage requires about 60 panels — six to seven 8-packs at roughly $300–$350. But here’s the thing: placement quality matters far more than raw coverage. Two 8-packs placed correctly at first reflection points deliver more audible improvement than six 8-packs scattered randomly. Start with two packs at the spots identified by the mirror test. Listen. Most people stop there because it’s already enough for their use case.
Mounting Options That Won’t Wreck Your Walls
- 3M Command picture-hanging strips (rated 16 lbs per strip pair): Clean removal with zero residue. Use two pairs per panel minimum. Works on drywall, plaster, and most painted surfaces. Best choice for renters or anyone who might rearrange later.
- Impalement clips (panel mounting clips): One small screw per panel, hang the panel on the clip. More permanent, but only leaves a pin-sized hole per panel. Easier to remove and patch than standard picture-frame nails.
- French cleats: A horizontal strip of angled wood screwed to the wall, with a matching strip on the back of each panel. The best option if you want to reposition panels later — just lift and slide, no new hardware needed.
Avoid direct foam adhesive or double-sided tape on the foam face. It bonds permanently and tears the surface material when removed.
Arranging Panels for Visual and Acoustic Effect
The YPY 8-pack tiles into a 4×2 grid measuring 48×32 inches — roughly the size of a large framed print. Mounting them as a single group creates a clean gallery-style statement. Spacing individual panels 2–4 inches apart with a slight rotation on alternating tiles adds visual interest without reducing acoustic performance.
The YPY Green Forest panel set — same dimensions and price at $49.99 — reads warmer on north-facing walls where cooler natural light dominates. The Sunset Beach design suits walls that catch afternoon warmth. Neither choice affects acoustic performance. Pick whichever fits your room’s palette and call it intentional décor — because it is.
Does Panel Thickness Change How Well They Work?
For vocal recording and Zoom calls: no, not meaningfully. Vocal frequencies sit between 80Hz and 8kHz. A 1-inch panel handles everything above 1kHz well. A 2-inch panel extends absorption down to around 500Hz, covering nearly all voice-clarity frequencies. Thicker panels — 3 to 4 inches — matter only if you’re recording instruments or mixing music where low-mid accuracy in the 100–300Hz range is critical. For voice, 1-inch decorative panels cover every problem frequency that affects how you sound on a call or recording.
What People Get Wrong About Acoustic Treatment

Will acoustic panels stop my neighbor’s noise?
No. Panels absorb reflections inside the room. They add no mass to walls and do nothing to block airborne sound transmission from outside. For neighbor noise, you need mass-loaded vinyl on shared walls, Green Glue compound between drywall layers, or full room-within-a-room decoupling. Those are construction-level interventions. Panels solve an entirely different problem.
Do I need studio-specific panels for a home office?
No. The physics are identical recording vocals or trying to clean up a video call. A home office treating for Zoom quality and a recording studio treating for vocal clarity face the same problem: too many parallel reflective surfaces. Panels rated for recording studio acoustical treatment work just as well on a home office wall — and a printed Sunset Beach design looks like an intentional design choice, not an acoustic patch job.
Can I skip ceiling treatment and still get results?
Yes, for directional microphone setups. A cardioid condenser aimed at your mouth rejects most sound from above, so ceiling reflections don’t enter the mic pickup pattern significantly. If you’re on video calls using a laptop’s built-in omnidirectional mic, the ceiling matters more. Prioritize side walls first. Add ceiling panels over your position only if flutter echo persists after the side walls are treated.
What’s the most common placement mistake?
Buying too few panels and spacing them evenly across every wall. One 8-pack spread randomly across a 12×12 room makes almost no audible difference. The same 8 panels concentrated at first reflection points on both side walls makes a clearly audible difference in that same room. Coverage threshold matters — below roughly 10% of total surface area, the acoustic improvement stays marginal no matter how evenly distributed the panels are. Hit the reflection points first, in a concentrated cluster, before spreading across the rest of the room.
That 12×12 home office with the Zoom calls that sounded like a tin-can echo chamber — it took exactly two 8-packs placed at the first reflection points found with the mirror test. Two hours of mounting. A level, command strips, and nothing else. The clap test went from a ringy “pip pip pip” to a clean, immediate fade. The next day’s calls didn’t prompt a single comment about audio quality from anyone on the other end. When acoustic treatment works, nobody notices it. They just notice that the call was unusually clear.

")