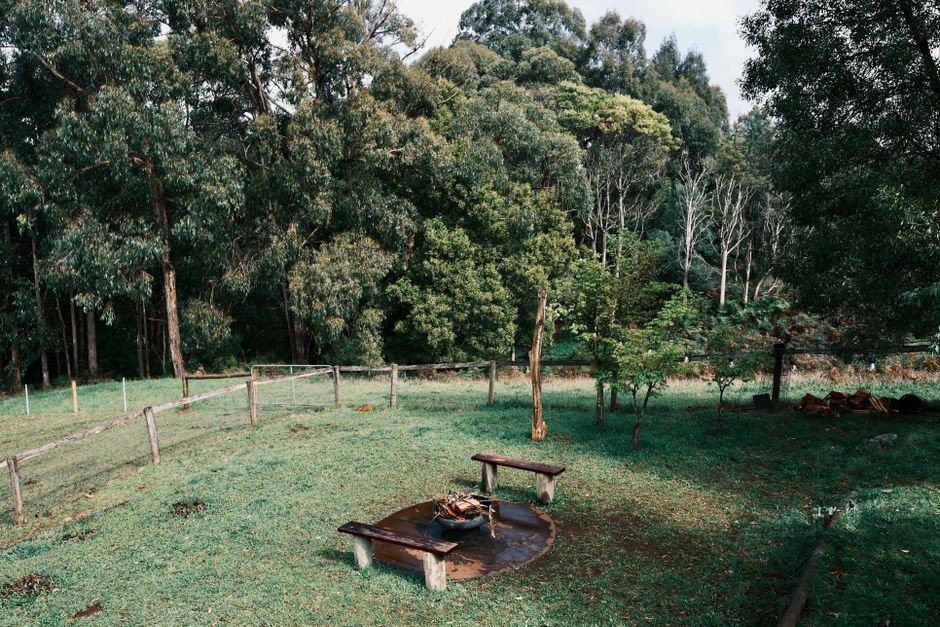
Last March, I stood in my backyard staring at a pile of retaining wall blocks from Lowe’s. My wife had been asking for a fire pit for two years. I’d watched exactly three YouTube videos and figured I could knock this out in a Saturday afternoon for under $200.
I was wrong on both counts.
The pit itself came together fine. What blindsided me were the secondary costs: replacing two Adirondack chairs that warped from radiant heat, repairing a section of composite decking that bubbled, and realizing my homeowner’s insurance had some pointed questions about “unpermitted open-flame structures” within 25 feet of the house.
This isn’t a step-by-step build guide. Plenty of those exist. This is about the stuff those guides leave out—heat radius calculations, furniture placement rules, and the ongoing maintenance that determines whether your fire pit becomes a weekend gathering spot or a rusted eyesore by August.
Why Most DIY Fire Pit Layouts Ruin Patio Furniture
The standard advice you’ll hear is “keep furniture at least 3 feet from the fire.” That number is dangerously optimistic for most setups.
Here’s what actually happens. A wood fire in a 36-inch pit produces radiant heat intense enough to soften powder coating on aluminum chair frames at 4 feet. At 3 feet, polywood composites start losing structural integrity around 180°F surface temperature—a threshold a hot fire crosses easily on a still night. I learned this the expensive way with a Polywood Adirondack that now has a permanent lean.
The fix isn’t just distance. It’s angle and material choice.
Heat Radius Reality Check
I borrowed an infrared thermometer after the chair incident. With a standard wood fire (oak, roughly 800-900°F at the core), surface temperatures on objects 4 feet away hit 140-160°F within 30 minutes. At 6 feet, things stayed under 120°F—hot but not damaging for most outdoor furniture materials.
For reference: powder-coated steel starts degrading around 200°F. Wicker and rattan can scorch at 150°F. Teak? It’ll survive, but the finish won’t. I’ve got a teak bench from Westminster Teak that developed a dull patch facing the fire side after one season.
What Actually Works for Placement
- Aluminum frames with Sunbrella cushions: Move cushions inside when burning. The frames handle heat fine at 5+ feet. Cushions will melt at close range.
- Cast aluminum dining sets: The Hanamint Grand Tuscany collection handles heat better than most—I’ve seen these survive at 4 feet—but the finish will eventually chalk if exposed repeatedly.
- Concrete benches: Indestructible. Also immovable and cold. Pick your tradeoff.
- Steel with high-temp coating: Breeo’s Outpost series is specifically designed for fire-side use. Expensive, but you’re not replacing them in two years.
Permits, Insurance, and the Conversation You Need to Have
Call your insurance agent before you break ground. Not after.
I use State Farm. When I mentioned the fire pit, the agent asked three things: distance from structures (minimum 25 feet in my county), whether it had a spark screen, and if I’d pulled a permit. I hadn’t. That led to a $75 permit application and an inspection that took 15 minutes. Annoying, but nothing compared to a denied claim if something went wrong.
Most standard homeowners policies cover fire pits as “recreational fires” as long as they meet local code. The moment you don’t have a permit or violate setback requirements, you’re in a gray area that adjusters love to exploit. AM Best ratings for your insurer matter here—companies with higher financial strength ratings tend to be less aggressive about denying claims over technicalities, but I wouldn’t test that theory.
Some municipalities require spark arrestors. Some ban wood-burning entirely and only allow propane. Check your local fire marshal’s website. It’s a 10-minute search that saves real headaches.
Propane vs. Wood: The Choice That Changes Everything
I built a wood-burning pit. My neighbor bought a propane fire table from Frontgate. After one season of watching him turn a flame on and off with a knob while I nursed kindling in 20mph wind, I understood the appeal.
| Factor | Wood-Burning DIY Pit | Propane Fire Table (e.g., Frontgate, Restoration Hardware) |
|---|---|---|
| Initial cost | $150-$400 (materials only) | $800-$3,000+ |
| Fuel cost per evening | $5-$15 (firewood bundle) | $8-$12 (20lb tank, ~4-6 hours) |
| Furniture placement minimum | 5-6 feet | 2-3 feet |
| Smoke smell on cushions | Significant | None |
| Ambiance | Crackling, real flame, smell | Clean, consistent, no crackle |
| Permit complexity | Higher (open flame) | Lower (contained fuel source) |
Propane fire tables let you place furniture much closer. The heat output is lower and more directional. A 50,000 BTU burner from a brand like Endless Summer or Uniflame puts out enough warmth for a 4-person seating area without damaging chairs at 3 feet. Wood pits radiate heat in all directions and spike much higher.
If your patio is small—under 200 square feet—a propane table is probably the smarter choice. You’ll actually use your furniture instead of pushing it against the walls every time you light a fire.
The Smokeless Fire Pit Upgrade I Didn’t Expect to Matter
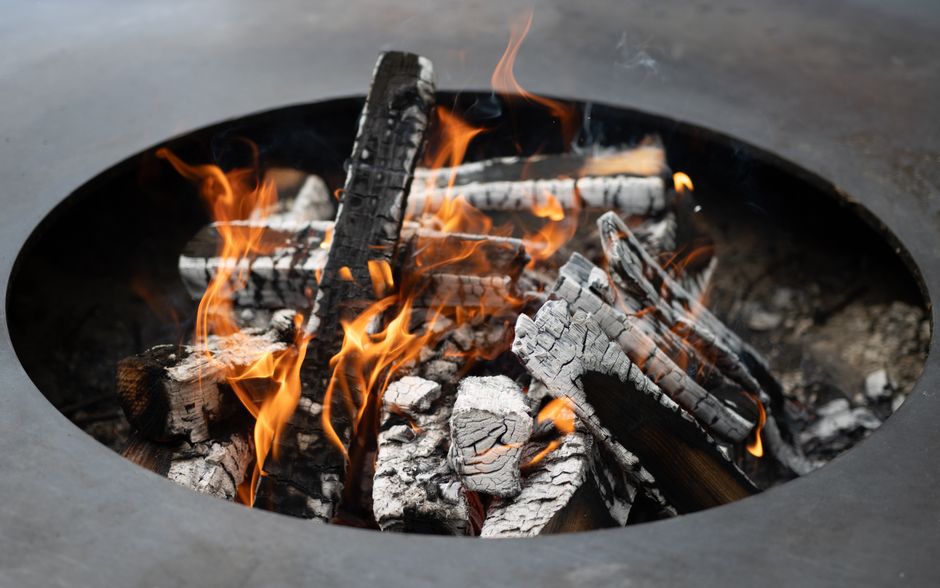
Three months into using my DIY pit, my wife stopped joining me outside. The smoke followed her everywhere. Our patio cushions smelled like a campground. The siding on the house developed a faint gray film near the roofline.
I caved and bought a Solo Stove Bonfire 2.0 ($270 at the time). The difference in furniture preservation alone justified the cost. Less smoke means less particulate settling into cushion fabric, less residue on powder-coated frames, and a wife who actually sits outside with me.
Smokeless pits work through secondary combustion—they pull air through double-wall construction and reburn smoke particles before they escape. Breeo’s X Series and Solo Stove dominate this category. Breeo is built in Pennsylvania and uses thicker steel (corten or stainless). Solo Stove is lighter, more portable, and cheaper. Both reduce smoke by roughly 70-80% compared to an open pit.
If you’re building a permanent block pit, you can’t retrofit smokeless technology. That’s a limitation worth knowing upfront. The Uniflame LP gas fire table with matching wicker chairs is a $600 all-in solution that sidesteps this entirely—no smoke, no ash, no furniture damage.
Maintenance Costs Nobody Budgets For
Wood ash is corrosive. Left in a steel pit, it absorbs moisture and rusts through the base in one season. I learned this the hard way with a $90 Uniflame steel fire pit I used before building the block version. By October, the bottom had pinholes.
Annual maintenance for a DIY block fire pit runs about $50-$100 depending on what fails:
- Steel fire ring replacement: $40-$80 every 2-3 years. The Blue Rhino 36-inch ring fits most DIY pits and lasts longer than unbranded options from big-box stores.
- Block cracking: Retaining wall blocks aren’t rated for repeated thermal cycling. I’ve replaced three blocks in two years. $3 each, but annoying to disassemble.
- Gravel base refresh: $15 for pea gravel every spring. Ash and debris work their way down and reduce drainage.
- Furniture protection: A Good Directions spark screen ($45) catches 90% of embers that would otherwise land on chair cushions.
Propane tables have different costs: tank refills, burner cleaning, and eventually replacing the burner ring ($50-$100 every 3-5 years). Neither option is maintenance-free, but propane is less messy.
When a DIY Pit Makes Sense—and When It Doesn’t
Build a DIY wood-burning pit if you have at least 400 square feet of patio space, you’re 25+ feet from any structure, and you genuinely enjoy tending a fire. The ambiance is unbeatable. The process of stacking wood, lighting kindling, and watching flames build is satisfying in a way that turning a knob isn’t.
Skip the DIY approach and buy a propane fire table if your patio is under 300 square feet, you’re within 15 feet of the house, or anyone in your household has respiratory issues that smoke aggravates. The Frontgate Marbella Concrete Fire Table ($1,499) and the less expensive Endless Summer 30-inch Square Fire Table ($349 at Lowe’s) both deliver consistent heat without the furniture-damaging smoke plume.
Skip both and get a smokeless wood-burning unit like the Solo Stove Yukon ($460) if you want real fire without the smoke but don’t want to commit to a permanent installation. It’s portable, it won’t damage your patio surface, and you can take it camping. The 27-inch diameter fits most standard seating arrangements.
Don’t build a fire pit at all if your HOA prohibits them, if you’re in a high-fire-risk zone with seasonal burn bans, or if your patio surface is composite decking. Composite decking like Trex or TimberTech will melt and bubble from radiant heat even at 6 feet if the fire is large enough. I have a small scar on my deck to prove it.
What I’d Do Differently Next Time
I’d buy the Solo Stove Bonfire from the start and skip the block pit entirely. Or I’d go straight to a propane fire table and accept that I’m paying for convenience.
The block pit looks great in photos. It cost $180 in materials from Lowe’s—56 retaining wall blocks, a steel fire ring, and pea gravel. But the hidden costs added up: $140 for two replacement chairs, $75 for the permit, $45 for a spark screen, and roughly $200 in firewood over two seasons. The total landed around $640, not counting the time spent rebuilding cracked sections.
For that money, I could have bought a Breeo X Series 24 ($599) with zero smoke issues and better heat output. Or an Endless Summer propane table with enough left over for a tank and cover.
Fire pits are one of those projects where the DIY savings are real but narrow. If you value your patio furniture, your time, and not smelling like a campfire, the math tilts toward manufactured options faster than most people admit.