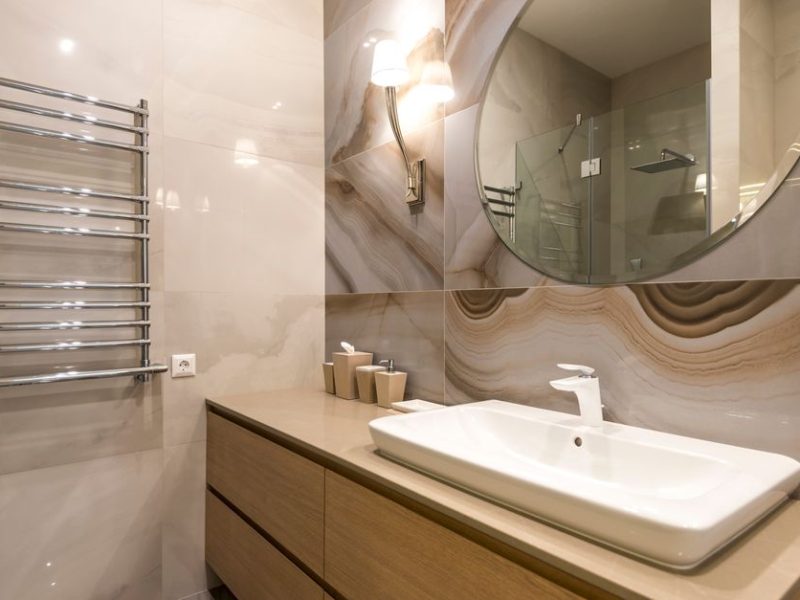
Guest bathrooms get neglected. They’re functional enough that you tolerate them, but not bad enough to justify a full renovation. Peel-and-stick tile fills exactly that gap — a legitimate visual upgrade that doesn’t touch the plumbing, the subfloor, or a contractor’s schedule.
Done right, the results hold up for years. Done wrong, you get lifting edges and bubbling grout lines by spring. The difference is almost entirely in what you buy and how you prep the surface before anything goes up.
Why So Many Peel-and-Stick Tile Projects Fall Apart
The Humidity Problem
Bathrooms are hostile environments for adhesive. A 10-minute shower raises humidity in a small room to 80–90%. That moisture finds any weak point — a lifted edge, a missed air bubble, a surface that wasn’t fully dry before application — and works its way behind the tile. Once water breaches the adhesive layer, the bond fails outward from that point and keeps going.
This is why reviews on these products split so dramatically between “looks amazing” and “peeled off in two months.” Same product, completely different outcomes based on installation conditions. The tile usually isn’t the variable. The surface prep is.
Wall Conditions That Kill Adhesion
Peel-and-stick tiles need a smooth, flat, non-porous surface. Painted drywall works well if the paint is fully cured and in good condition. Textured walls, paint applied within the last 30 days, and any wall with moisture damage behind it will all cause adhesion failure — regardless of tile quality or price point.
There’s also a quality tier problem in this product category. Budget options at $15–25 per sheet use thin adhesive that degrades quickly with heat and humidity. They’re fine for a kitchen backsplash. They’re not reliable for a steam-adjacent bathroom wall. Premium options like Art3d peel-and-stick panels ($28–45 per panel) use 3M-grade adhesive that handles bathroom conditions noticeably better. Smart Tiles — the Canadian brand that has been making peel-and-stick backsplash for over a decade — produces the Muretto Baroque collection ($18–22 per sheet), which is the benchmark for realistic embossed grout lines at a reasonable price. The grout lines are dimensional and raised, not flat printed graphics.
What no tile overcomes: active moisture intrusion from behind the drywall, soft or damaged drywall paper, or flat latex paint that hasn’t bonded properly to the substrate. Those problems need to be fixed before any tile project starts.
Tile Format Comparison: Which One Belongs in a Bathroom
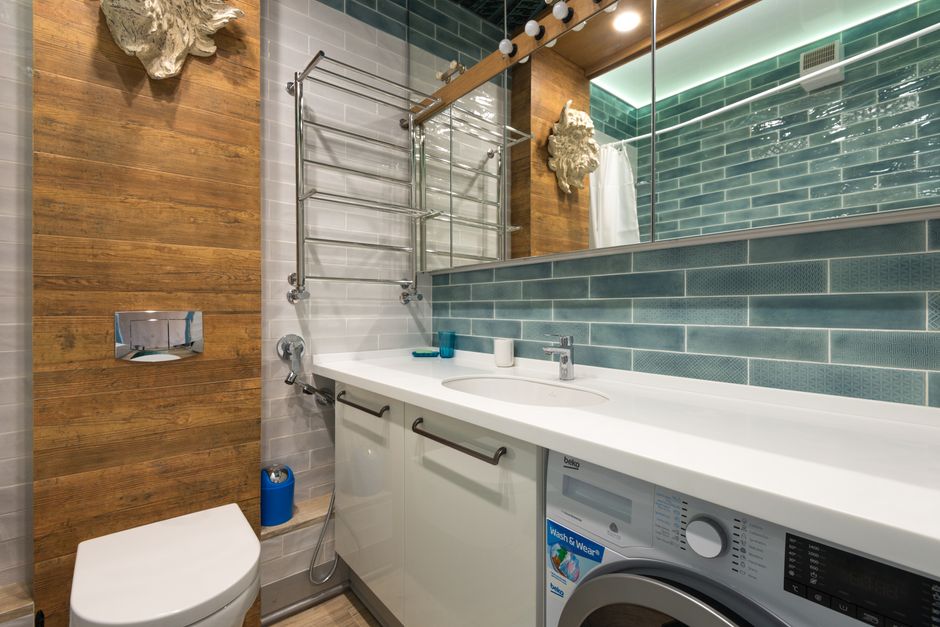
Not all peel-and-stick tile is the same product. Format determines what the finished wall reads as — and where it’s appropriate to use it.
| Format | Best Application | Price Range | Humidity Tolerance | Recommended Product |
|---|---|---|---|---|
| Mosaic sheet tiles | Backsplash, accent wall sections | $18–$28/sheet | High | Smart Tiles Muretto Baroque |
| Large format panels | Full wall coverage, tub surrounds | $35–$60/panel | High | Art3d 12″x12″ Peel and Stick |
| Vinyl floor tiles | Bathroom floors only | $1.50–$3.50/sq ft | Very high (fully waterproof) | FloorPops Harper, Achim Nexus |
| Subway-style panels | Wainscoting, partial wall height | $22–$38/sheet | Medium-High | StickTILES by NextWall |
For Walls: Large Format Panels Win
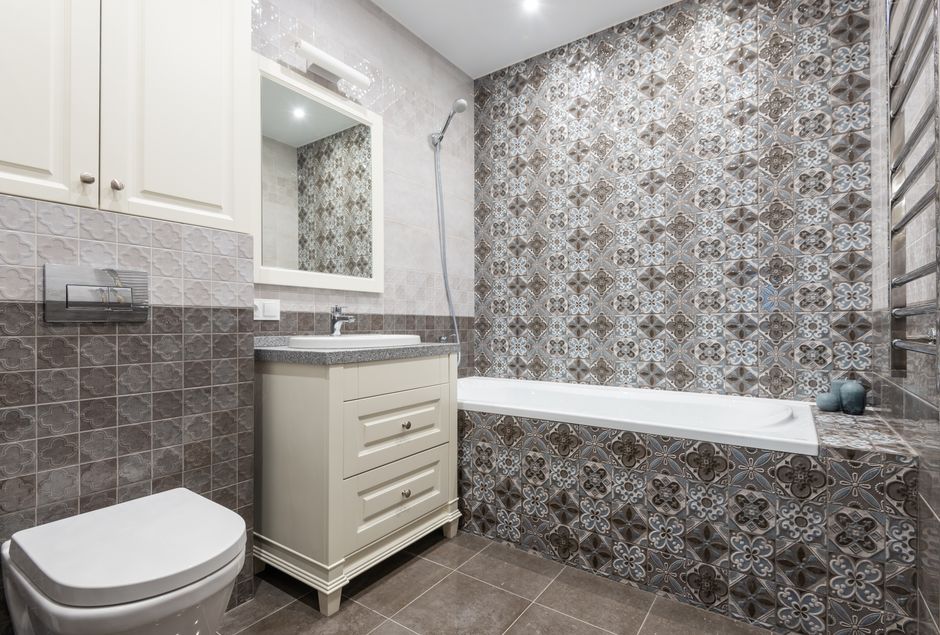
Mosaic sheets apply faster and cover more surface area per piece, but they read as “kitchen backsplash” if used floor-to-ceiling — the scale is off for a full wall treatment. Large format panels look like genuine tilework from a normal viewing distance. For a guest bathroom you actually want to impress guests with, that distinction matters.
For Floors: Vinyl Tile Is in a Different Category
FloorPops Harper at $1.89/sq ft is genuinely waterproof — not just humidity-resistant — and easy to cut with a utility knife. Achim Nexus ($1.50/sq ft) is the budget floor option that holds up well in low-traffic bathrooms. Both are meaningfully different products from wall tile: thicker, fully sealed on every edge, and rated for direct water contact. Don’t try to put wall-format mosaic tiles on a bathroom floor.
Surface Prep Determines the Outcome — Not the Tile
Clean with TSP substitute (not a damp cloth — that leaves residue). Let it dry 24 hours. Sand any raised paint edges flat with 220-grit sandpaper. Wipe with isopropyl alcohol. If there’s old caulk residue or soap scum, use adhesive remover before the alcohol step. That sequence is the entire job. Every installation failure can be traced back to skipping one of those steps.
Application: The Sequence That Avoids Rookie Mistakes
- Dry-fit the entire wall before peeling anything. Lay tiles against the wall without removing backing. Find where cuts will land. Cuts belong at corners and edges — not floating in the middle of a field.
- Start from the center, not from a corner. Mark a plumb vertical line at the wall’s center point. The first tile goes against that line. Working outward keeps any misalignment from compounding across the surface.
- Peel backing in 2–3 inch strips, not all at once. Peeling the full sheet at once causes the tile to droop and misalign mid-application. Peel a small strip, press firmly, then continue peeling and pressing.
- Roll every tile with a seam roller after application. A $12 wallpaper seam roller eliminates air pockets before they become moisture entry points. This step is not optional — it’s what separates installations that last three years from ones that fail in three months.
- Cut with a sharp utility knife, not scissors. Scissors compress the cut edge and create gaps between tiles. A fresh blade gives a clean edge that butts tightly to the adjacent piece.
- Seal the perimeter with clear silicone caulk. Wherever tiles meet the tub surround, sink edge, or floor, run a thin bead of waterproof silicone. This single step extends the installation’s lifespan more than any premium adhesive upgrade would.
Wait 24–48 hours before running water or the shower. The adhesive needs that window to cure fully before exposure to humidity. Honor it.
When Peel-and-Stick Tile Is the Wrong Choice
If You’re Selling Within the Year
Buyers and inspectors notice the difference between peel-and-stick and ceramic — especially in listing photos. A proper ceramic tile installation runs $8–15 per square foot installed. Peel-and-stick runs $3–6. Whether that gap is recoverable at closing depends on your market, but the perceived quality difference is real. If the bathroom is a primary selling point, spend the money on ceramic.
If There’s Moisture Behind the Wall
Soft drywall, visible mold, or a leak that was “fixed” without replacing affected material — covering any of that with peel-and-stick delays the problem and makes remediation more expensive. Fix the moisture source first. No surface treatment substitutes for that.
If You Want a Steam Shower or Wet Room
None of these products are rated for continuous steam or direct water submersion. Those applications require cement board, a waterproofing membrane, and properly set ceramic or porcelain tile. Peel-and-stick handles bathroom humidity well. It is not waterproofing construction.
For the guest bathroom that’s simply dated — the one with beige walls that haven’t changed since 2003 — peel-and-stick tile remains one of the best returns on a weekend and $150–200. The adhesive formulations available in 2026 are noticeably better than they were five years ago, and the design options have expanded well beyond basic subway patterns into zellige-style, marble-look, and geometric formats that hold up to scrutiny from a normal viewing distance. The ceiling on what this product can look like keeps rising.