You’ve watched ten YouTube videos on DIY home projects for beginners. They all look easy. The guy in the video has a $2,000 table saw and an editing team. You have a screwdriver that came in a holiday gift set. That’s fine. You don’t need the table saw. You need a plan that works with what you actually own.
I’ve helped three friends go from “I can’t even hang a picture straight” to building their own furniture. The first project is always the same: a floating shelf. It looks impressive. It’s genuinely useful. And you can finish it in a single afternoon with four tools and about $30 in materials.
Why Floating Shelves Are the Perfect First Project
Most beginner DIY projects fall into two traps. They’re either too simple (painting a wall) and teach you nothing, or they’re too complex (building a full bookshelf) and you quit halfway through. A floating shelf sits right in the sweet spot.
You learn four core skills in one project:
- Measuring and marking — the foundation of every woodworking project
- Cutting straight lines — with a handsaw or circular saw
- Drilling pilot holes — stops your wood from splitting
- Mounting to wall studs — the difference between a shelf and a pile of splinters on the floor
The shelf hides its mounting bracket inside the wood. That’s the “floating” illusion. It’s not magic. It’s a metal bracket that slides into a routed channel in the shelf. You can buy pre-made floating shelf brackets online or at any hardware store. I use the Richelieu 14-inch Floating Shelf Brackets ($12 for a pair). They hold up to 50 pounds each. More than enough for books, plants, or a small TV.
The best part? If you screw it up, you’re out $15 and one afternoon. That’s a cheap lesson.
The Exact Tools and Materials You Need (No Expensive Stuff)

Here’s the list. No substitutions, no upgrades. This is the minimum viable setup.
| Item | Specification | Estimated Cost |
|---|---|---|
| Wood (pine board) | 1x8x48 inches, pre-sanded | $10 |
| Floating shelf bracket | Richelieu 14-inch, steel | $12 |
| Wood stain or paint | Minwax Early American stain or Behr paint sample | $5-8 |
| Sandpaper | 120-grit and 220-grit | $3 |
| Power drill | Any cordless drill with a clutch | $0 (borrow from a friend) |
| Drill bits | 1/8-inch pilot bit, 3/8-inch spade bit | $5 |
| Stud finder | CH Hanson magnetic type ($8) | $8 |
| Level | 24-inch, any brand | $6 |
| Handsaw or circular saw | Stanley 15-inch handsaw or Skil 7-1/4 inch circular saw | $15 or $45 |
Total: $47 to $77 if you need to buy everything. You probably already own the drill, level, and saw. That drops it to under $30. Skip the expensive stud finder with digital screens. The magnetic one finds nails. That’s all you need.
One mistake I see beginners make: buying pre-primed MDF board instead of solid pine. MDF is heavy, crumbles when you drill it, and sags over time. Pine is lighter, stronger, and takes stain evenly. Spend the extra $3.
Step-by-Step: Build and Mount Your Shelf in 4 Hours
I’m going to give you the exact steps. Follow them in order. Do not skip the pilot hole step. I’ll explain why later.
Step 1: Cut the Wood to Length
Measure your wall space. A 48-inch board is standard. Cut it to 36 inches if you want a shorter shelf. Mark your cut line with a speed square. If you’re using a handsaw, cut on the waste side of the line. Sand the cut edge with 120-grit sandpaper until smooth. Then hit it with 220-grit for a finish-ready surface.
Step 2: Route the Bracket Channel (The Tricky Part)
Your floating shelf bracket needs a channel routed into the back of the shelf. If you don’t have a router, use a 3/8-inch spade bit and a chisel. Mark the bracket’s position on the back of the shelf. Drill a series of overlapping holes along that line, about 1/2-inch deep. Knock out the remaining wood with a flat-head screwdriver. It won’t be pretty. No one will see it. The bracket just needs to sit flush.
Step 3: Stain or Paint
Apply stain with a lint-free cloth. Wipe on, wait 5 minutes, wipe off. One coat is enough for pine. Let it dry for 2 hours. If you’re painting, use a foam roller for a smooth finish. Two thin coats beat one thick coat.
Step 4: Mount the Bracket to the Wall
Use the stud finder to locate two wall studs. Mark them. Hold the bracket against the wall, level it, and mark the screw holes. Drill pilot holes (1/8-inch bit) into the studs. This is non-negotiable. If you skip pilot holes, you will strip the screw head or split the stud. Screw the bracket into the studs using the included lag bolts.
Step 5: Slide the Shelf On
Slide the shelf onto the bracket from the front. It should fit snugly. If it’s tight, tap it gently with a rubber mallet. If it’s loose, you drilled the channel too wide. Wrap the bracket with a layer of painter’s tape to shim it.
Three Mistakes That Will Ruin Your Shelf (And How to Avoid Them)

I’ve seen every one of these. They’re all preventable.
Mistake 1: Mounting to drywall anchors instead of studs. Drywall anchors hold a picture frame. They do not hold a shelf with books. The shelf will pull out of the wall in three months. Always find a stud. If your wall has no studs where you want the shelf, use toggle bolts rated for 75 pounds. But studs are better.
Mistake 2: Forgetting to account for the bracket thickness. Your bracket is about 1/2-inch thick. That means your shelf will sit 1/2-inch away from the wall. If you want it flush against the wall, you need to recess the bracket into the wall by cutting out the drywall. That’s an advanced technique. For your first project, just accept the 1/2-inch gap. It looks fine.
Mistake 3: Using the wrong screw length. The screws that come with your bracket are usually 2.5 inches long. That’s fine for 1/2-inch drywall plus a 2-inch stud. If you have thicker drywall or plaster, you need 3-inch screws. Measure your drywall thickness first. Plaster walls are usually 3/4-inch thick. Buy longer screws if needed.
One more thing: do not overload the shelf. A 14-inch bracket holds 50 pounds. That’s about 10 hardcover books or 3 medium potted plants. If you want to hold more, buy longer brackets. The Richelieu 18-inch brackets ($16) hold 75 pounds.
When You Should NOT Build a Floating Shelf (And What to Do Instead)
Floating shelves are not the answer for every wall. Here’s where they fail.
Rental apartments with strict rules. If your lease says “no drilling into studs,” you can’t mount a floating shelf. Use a leaning shelf or a wall-mounted shelf with a French cleat system that uses fewer holes. The IKEA MOSSLANDA picture ledge ($20) mounts with two small screws and holds 15 pounds. It’s not floating, but it’s renter-friendly.
Tile or brick walls. Drilling into tile requires a diamond-tipped bit and a lot of patience. One mistake and you crack the tile. For brick, you need a hammer drill and masonry anchors. If you don’t own those tools, hire someone. The $100 you spend on a handyman is cheaper than replacing a tile wall.
Walls with no studs at your desired height. Some walls have studs spaced 24 inches apart instead of 16. Or the studs are right where you don’t want them. In that case, use a shelf that mounts to the wall with multiple small screws into drywall anchors. The ClosetMaid 4-foot Shelf Track system ($25) distributes weight across six anchors. It’s not as clean as a floating shelf, but it works.
You want a shelf longer than 48 inches. A single floating shelf longer than 4 feet requires a center support bracket. That bracket will be visible. It kills the floating illusion. If you need a long shelf, build two separate shelves side by side with a 1/4-inch gap between them. It looks intentional.
What You’ll Learn That Transfers to Bigger Projects
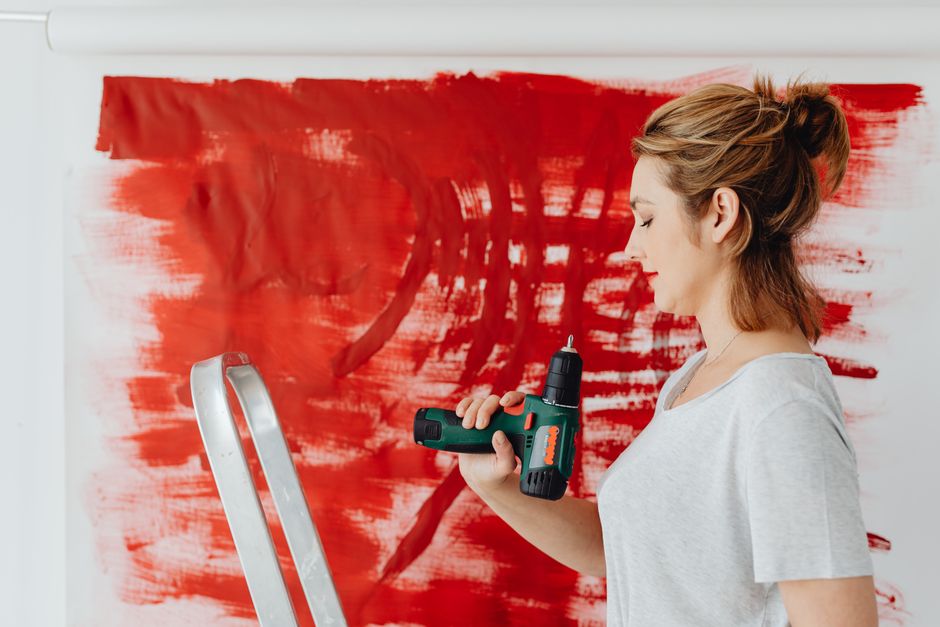
This shelf teaches you the three hardest skills in DIY woodworking: measuring accurately, drilling straight, and attaching to walls. Once you’ve done it once, you can do it again. And again.
Next weekend, build a second shelf. Then a third. Group them together on the wall. Now you have a built-in bookcase look for $90 instead of $900.
After that, try a console table. Same skills, just more wood. The Ana White Farmhouse Console Table plan uses pocket holes and 2x4s. You can build it in a weekend with a drill and a saw. I’ve built three of them. They cost $60 each. Similar tables at West Elm cost $400.
The point is not to save money. The point is to stop being the person who watches videos and starts being the person who builds things.
Get the wood. Cut it. Mount it. Done.