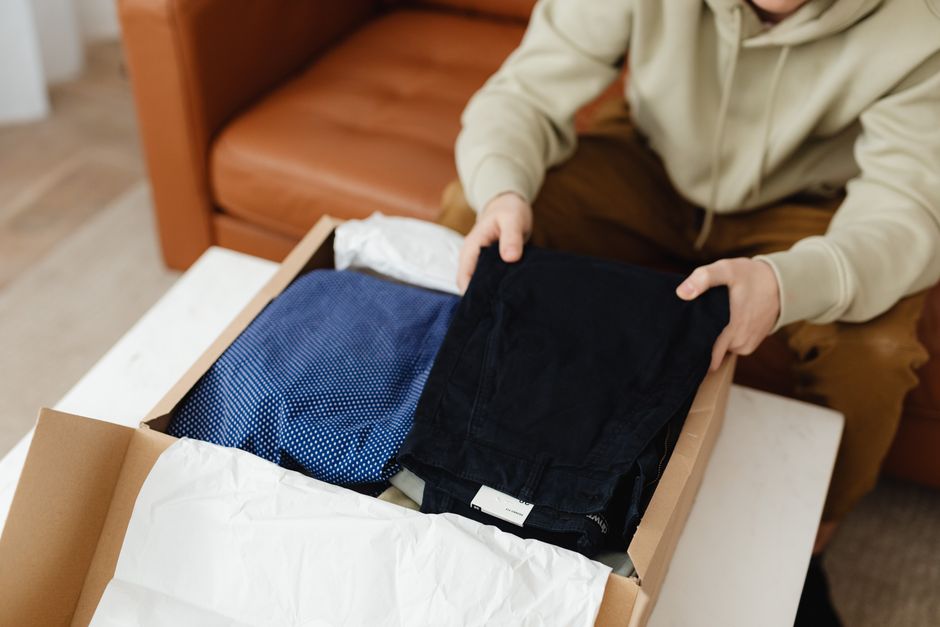
A useful spring-cleaning statistic is simple arithmetic: if four people remove 10 unwanted items each day for one week, 280 objects leave the house. That is enough to change how a home feels. This seven-day spring decluttering plan uses short work sessions, clear decisions, and one room at a time so you finish with less stuff instead of a larger pile of half-sorted belongings.
What to keep, donate, recycle, or discard

Ask five decision questions
- Have I used this in the past 12 months?
- Would I buy this item again today?
- Do I own another object that does the same job?
- Does this item fit my current home, body, schedule, or taste?
- Would replacing it cost more than keeping it?
Answer quickly. A long explanation often hides guilt rather than value. Keep an item when it earns its space through regular use, safety, strong sentimental value, or a clear future need. Donate clean, working items that someone else can use now. Recycle paper, cardboard, metal, and approved electronics through your local program. Discard broken, stained, unsafe, or incomplete objects that no one would reasonably want.
Set a quarantine box
Some decisions need distance. Put uncertain items in a sealed box, write the date on the lid, and store it somewhere out of the way for 30 days. If you do not open the box during that period, donate or recycle the contents. Do not use the box for every difficult item; reserve it for genuine uncertainty.
Do not start by sorting photographs, letters, or inherited objects. Sentimental items slow the first session and can stop the plan completely. The verdict: make fast decisions on ordinary objects and delay sentimental sorting until the house has already gained momentum.
Day 1: Declutter the entryway and living room
Clear the entryway first
The entryway controls the first and last five minutes of every day, so it deserves the first session. Remove shoes that pinch, coats no one wears, duplicate umbrellas, expired keys, and bags that have no regular job. Keep one everyday pair of shoes per person near the door, then move seasonal footwear to a closet or storage shelf.
Create three landing places: one hook for daily outerwear, one tray for keys and wallets, and one basket for items leaving the house. The basket should be emptied each evening. If it stays full for a week, the system is too large or the items do not have clear destinations.
Reduce visible living-room clutter
Work from the floor upward. Remove empty boxes, old magazines, unused candles, duplicate remotes, and decorative pieces that make cleaning harder. Keep only the cables connected to equipment you use. Label one small cable pouch for chargers and place the pouch beside the television or desk.
An IKEA KUGGIS box with lid, about 26 by 35 by 15 centimeters and often priced near $12.99, works well for blankets, game controllers, or children’s craft supplies. Buy one only after measuring the shelf. A storage box that does not fit becomes another item to manage.
The verdict: make the entryway and living room easier to reset in five minutes. Fewer visible objects matter more than a perfectly styled shelf.
Day 2: Clear the kitchen with a strict container limit

Sort by task, not by cupboard
Take everything from one cabinet at a time and group items by use: cooking, baking, serving, food storage, cleaning, and entertaining. Discard warped plastic, lids without containers, duplicate gadgets, chipped dishes, and spices past their useful date. Keep the best version when several tools do the same job.
| Kitchen zone | Keep limit | Target action | Useful measure |
|---|---|---|---|
| Food containers | One shelf | Match every lid to a base | Leave 20% empty space |
| Travel mugs | Two per person | Donate duplicates | Store upright |
| Spices | One drawer or rack | Discard stale jars | Keep labels visible |
| Cleaning products | One under-sink area | Group by task | Keep heavy bottles low |
Choose storage only after editing
The Rubbermaid Brilliance 18-piece food storage set, commonly priced around $39.99, is useful when mismatched containers create daily frustration. It is not a reason to keep every old container. Measure the shelf, choose one system, and recycle the leftovers. The same rule applies to a Brother P-touch PT-D210 label maker, usually around $39.99: it can make categories clear, but labels cannot fix a cabinet that contains too much.
Place the items used every day between waist and shoulder height. Put heavy appliances at the back of a low cabinet and move rare baking tools higher. The verdict: remove duplicates before buying organizers; a one-shelf container limit solves more kitchen clutter than another set of bins.
Day 3: Reset bedrooms and wardrobes
Start with a hard wardrobe rule
My strongest recommendation: remove anything that fails a real-life test. Put on each uncertain garment. Sit, bend, raise your arms, and check the fabric in normal light. If it pinches, needs constant adjustment, or has not been worn in a year, move it to the donate bag. Clothing kept for a fantasy version of your life steals space from clothes that fit today.
Build four groups: current season, other seasons, repairs, and removal. Set a repair deadline of 14 days. If a button, hem, or zipper still has no plan after two weeks, let the garment go. Keep sentimental clothing in one labeled box rather than across several drawers.
Make the wardrobe easier to count
Hang similar items together and turn every hanger backward. When you wear something, return the hanger facing forward. After 30 days, the untouched backward hangers show where to edit next. Store folded knitwear on shelves rather than hanging it, which can stretch the shoulders.
A 30-pack of Amazon Basics velvet hangers, often priced near $20 to $25, can save space and stop slippery clothes from falling. Buy them only if your current hangers are broken or too wide. For a child’s room, use a lower rail and one open basket for daily toys instead of adding several small bins.
The bedroom winner is not a particular organizer. It is a smaller wardrobe with clear limits. The verdict: edit clothing before purchasing hangers or drawers, then use one container per category.
Day 4: Handle bathrooms, laundry, and paper
Which bathroom items should leave?
Discard expired medicine through an approved take-back program, not the sink or toilet. Remove dried cosmetics, nearly empty products you dislike, duplicate samples, and towels that no longer absorb water. Keep one open bottle of each daily product and place backups in a single basket. If the basket is full, do not buy another backup.
How do you stop paper and laundry clutter?
Use three paper actions: act, scan, or recycle. Open mail beside the recycling bin. Pay or file bills immediately, scan documents that have a legal or practical reason to exist, and recycle advertisements. Keep vital papers in one fire-resistant folder or cabinet. Shredding is useful for documents with personal information, but do not shred every sheet automatically.
In the laundry area, keep detergent, stain remover, and washing tools together. Count towels by the number of people in the home plus two guest towels. Match socks, recycle stretched elastic, and move empty bottles out immediately. A small wall hook can hold a drying bag, but adding shelves is a poor choice if the floor is blocked by unused baskets.
The best tool here is a date, not a purchase. Write opening dates on cosmetics and replacement dates on filters. The verdict: control incoming supplies before organizing existing ones; a beautiful bathroom still becomes cluttered when every sale item comes home.
Day 6 and 7: Finish removal and keep the result
Where should donations and recycling go?
Set a removal deadline before the first bag fills. Donations should leave within 48 hours, recycling should go to the correct collection point, and rubbish should leave on the next pickup day. Do not create a donation corner that becomes permanent storage. Photograph valuable items before listing them, set a seven-day selling deadline, and donate anything that does not sell.
Walk through each room with an empty laundry basket. Return misplaced items, remove the final obvious discards, and check flat surfaces. Then clean the newly exposed floor, shelf, or cabinet. Cleaning first makes clutter easier to miss; cleaning after editing shows the real result.
Build a 10-minute weekly reset
Choose one evening each week for a fast reset. Empty the entryway basket, return kitchen items, collect laundry, recycle mail, and review the donation box. Give every new item a home before it enters the house. Use a one-in, one-out rule for categories that already feel full, such as mugs, coats, toys, or shoes.
Do not schedule another whole-house purge every month. A short weekly reset works because it catches small problems before they become room-sized projects. The final verdict: finish by moving every removal item out of the house. Start with the seven-day plan, use one container per category, and choose only the organizers that solve a problem still present after editing.